I have come to like quinoa quite a lot. It is an easy grain to work with and maintains a light fluffy property when working with it. I only wish that is was cheaper than it is, but I still must buy it from time to time to get my fix. I have used it in pancakes, stuffed in squash, and as a salad. Since it is a grain, it is filling, but you can add a meat if you feel like you want some protein. This particulary recipe is based off one from The Beekman 1802 Heirloom Vegetable Cookbook. There are a lot of great recipes in this book, though I have only attempted a couple of them. More will certainly be tried when we have a better chance at fresh vegetables...meaning spring. One of the things that gives this recipe such excellent flavor is the boiling of quinoa in black tea. If you are thinking you want more flavor for your grains this is a great way to add flavor. I sometimes add stock to my rice or other variations of adding flavor to the grain as you are cooking it so it absorbs that flavor as the grain is cooked. Experiment and enjoy!

Quinoa Stuffed Squash
2 winter squash (small spaghetti, acorn, etc.), cut into halves and removed the seeds
2 tablespoons olive oil
1 tablespoon brown sugar
1 1/2 teaspoon salt
1/2 teaspoon black pepper
1 black tea bag
3 scallions, thinly sliced
3 cloves of garlic, thinly sliced
1 cup red quinoa
1/4 teaspoon thyme
2 tablespoon unsalted butter
1/2 cup pecan, roughly chopped
Preheat oven to 450F. Cut a little off the squash if they don't lie properly, so that they will stay flat while in the oven and the filling won't spill out. Put the squash halves on a rimmed baking sheet and brush lightly with the 1 tablespoon of olive oil. Sprinkle the cavities with brown sugar, half the salt and the pepper. Bake for 30 minutes or until fork tender.
While the squash are roasting, bring two cups of water to a boil in a medium saucepan. Remove from heat and steep the black tea bag for 3 minutes. Remove tea bag. In another medium saucepan, heat the other 1 tablespoon oil over medium heat. Add the scallions, garlic and cook for about 2 minutes or until tender. Add the quinoa, brewed tea, thyme and 3/4 teaspoon salt. Bring to a boil. Reduce to a simmer, cover, and cook for about 15 minutes or until the quinoa is tender and liquid has been absorbed. Stir in the butter and pecans.
Divide the quinoa into 4 among the squash halves. Tent loosely with foil and bake for 30 minutes or until very tender.
Serves 4
For the month of February, I have decided to cook recipes from the cookbook Bitter by Jennifer McLagan. I was interested to see what fruits and vegetables she called bitter. Some are more bitter than others and she talks a lot about how bitter has been bred out of many foods, but in reality we only need a little bit of bitter to start our appetites. I am not quite done reading this book yet, but here is a recipe adapted from the cookbook.

The thing I find ironic is that I never thought that I liked bitter foods, but after reading the cookbook I have found that many of the contrasts that I like to eat are bitter foods (maybe only subtlety bitter). For example, I tried grapefruit again last year and this time I didn't find it very bitter. Of course I tried the pink or red variety which much of the bitter has been bred out. I, however, love arugula. I discovered this lettuce more than 10 years ago when I lived in Germany. I tried it once and ever since I have looked for it. It is one of my favorite topping on pizza (not wilted, but added after baking). One other bitter food that I have come to love (also while I lived in Germany) is Brussel sprouts. Of course, roasting them with oil and balsamic vinegar brings out the sweetness of the vegetable so many people have come to eat them in this manner. So join me in my journey in trying bitter foods this month.
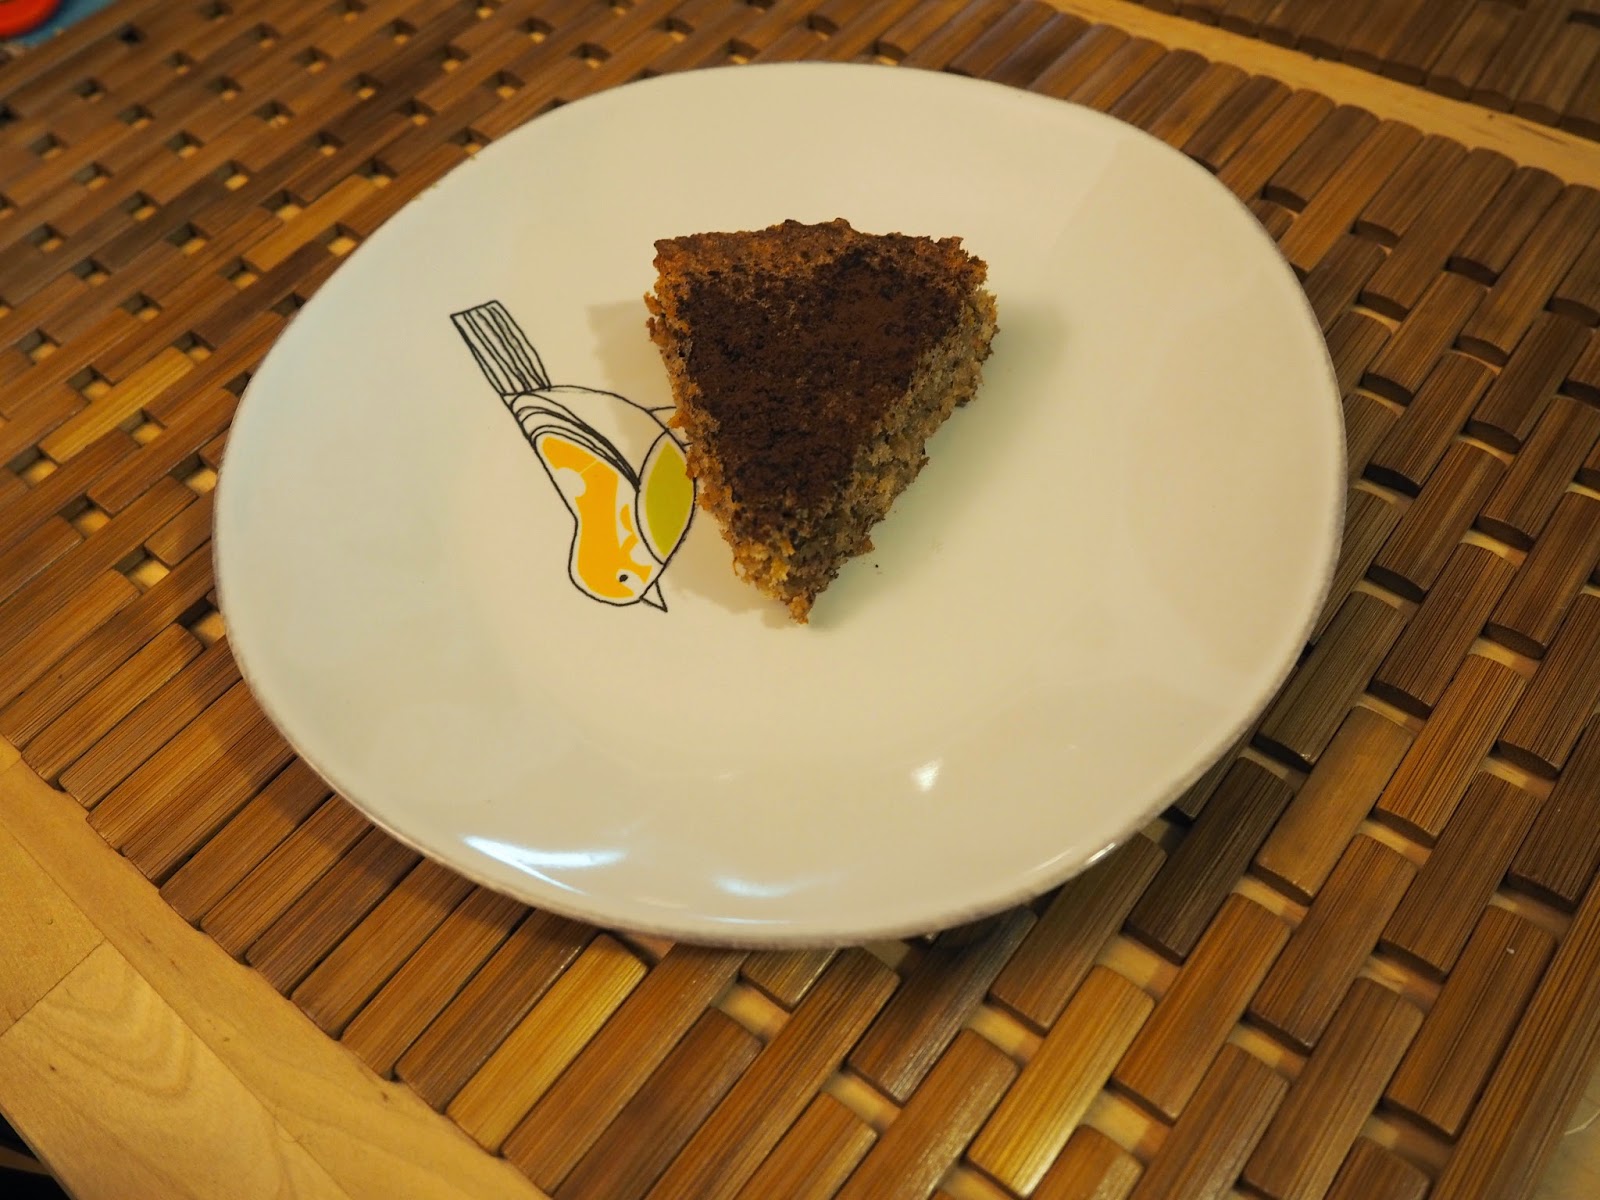
This walnut cake is moist and not very sweet.
Orange-Scented Walnut Cake
6 ounces walnut pieces
2 slices wheat or other oat bread
5.5 ounces unsalted butter
2/3 cup sugar
4 eggs, separated
1 teaspoon cardamom
pinch of salt
2 small oranges, zested (with a little of the pith)
pinch cream of tartar
cocoa powder to dust the top
Preheat the oven to 350 F. Butter a 9 inch springform pan. Then cut a round of parchment to line the bottom. (The butter helps it stick as well as greases the edges.) Spread the walnuts and 2 slices of bread on a baking sheet and bake for about 10 minutes. Check after about 5 minutes and flip the bread if it is starting to dry on one side. The nuts should be lightly toasted and you should be able to smell them. Remove from oven and let them cool. Reduce the temperature on the oven to 325 F.
Put the butter in a stand mixer with paddle attachment. Set aside 3 tablespoons of the sugar and add the rest to the butter. Cream the butter and sugar until light and fluffy.
Add the toasted bread and walnuts to a food processor and pulse until finely ground (as this will be the flour for the recipe).
Add the egg yolks, one at a time with beating in between each addition, to the creamed butter and sugar mixture. Stir in the ground walnuts and bread mixture. Add the cardamom and salt. Finely grate the zest of the orange including a little of the pith. (You can juice the orange and drink it or use the juice in another recipe.)
In a clean bowl, whisk the egg whites until frothy. Add the cream of tartar and continue to whisk until white. Add the reserved three tablespoons of sugar, one at a time, whisking in between to incorporate. Add a large spoonful or two to the butter/walnut mixture. Tip the batter into the egg whites and fold until mixed. Pour the batter into the prepared pan and smooth the top. Bake for aout 45 minutes or until golden and a toothpick inserted in the center comes out clean.
Let the cake cool for 5 minutes and then release from the springform pan. Let cool completely and dust with cocoa powder. This cake improves with some time and is better if you can wait a day before eating. It also goes good with coffee (per my coworkers testimonies).
I really like a well made, not dry corn bread. I came across this recipe in Cook This Now. It combines honey which I love in cornbread with a 50% mixture of white and whole wheat flour along with the corn meal. This combination gives the cornbread a wonderful flavor while at the same time making it a little more healthier for you than all white flour. I make this corn bread in winter to go along with my white chicken chili. Serve them together and you will have a great meal in no time.
Honey Corn Bread
1 cup yellow corn meal
1/3 cup whole wheat flour
1/3 cup white flour
3/4 tablespoon baking powder
1 1/2 teaspoon salt
1 cup sour cream
1/2 milk
1/3 cup honey
2 eggs
1/4 teaspoon baking soda
4-6 tablespoons unsalted butter
Preheat the oven to 375 F. In a medium bowl combine the cornmeal, flours, baking powder and salt. In a separate medium bowl, whisk together the sour cream, milk, honey, eggs and baking soda. Place a 9x9 inch pan with the unsalted butter into the oven to melt. Once nearly melted, fold wet ingredients into the dry ones just until combined. Remove the pan from the oven and pour the combined batter into the pan and place back in the oven. Bake until the top is golden and a toothpick inserted in the center comes out clean. This should take about 30 minutes.